Similar to the Query Builder screen, the Business Rule Manager screen enables the creation of logical statements. These logical statements are used to create minor rule sets within GAINS without having to access batch scripts to run individual rules.
Business Rule Manager Screen
- Business Rule Manager Main Screen
- Execute Rule Set
- Create Rule Set
- Create New Rule
- Copy Rule
- Audit and Roll-back
- Allow Editing by Other Users
- Modifying a Rule
- Description of Fields in Business Rule Manager
- Primary Data Set Screen
- Update Screen
- Criteria Screen
- Preview Screen
- Batch Script BRM
- Executing Individual Rules
- Executing Rule Sets
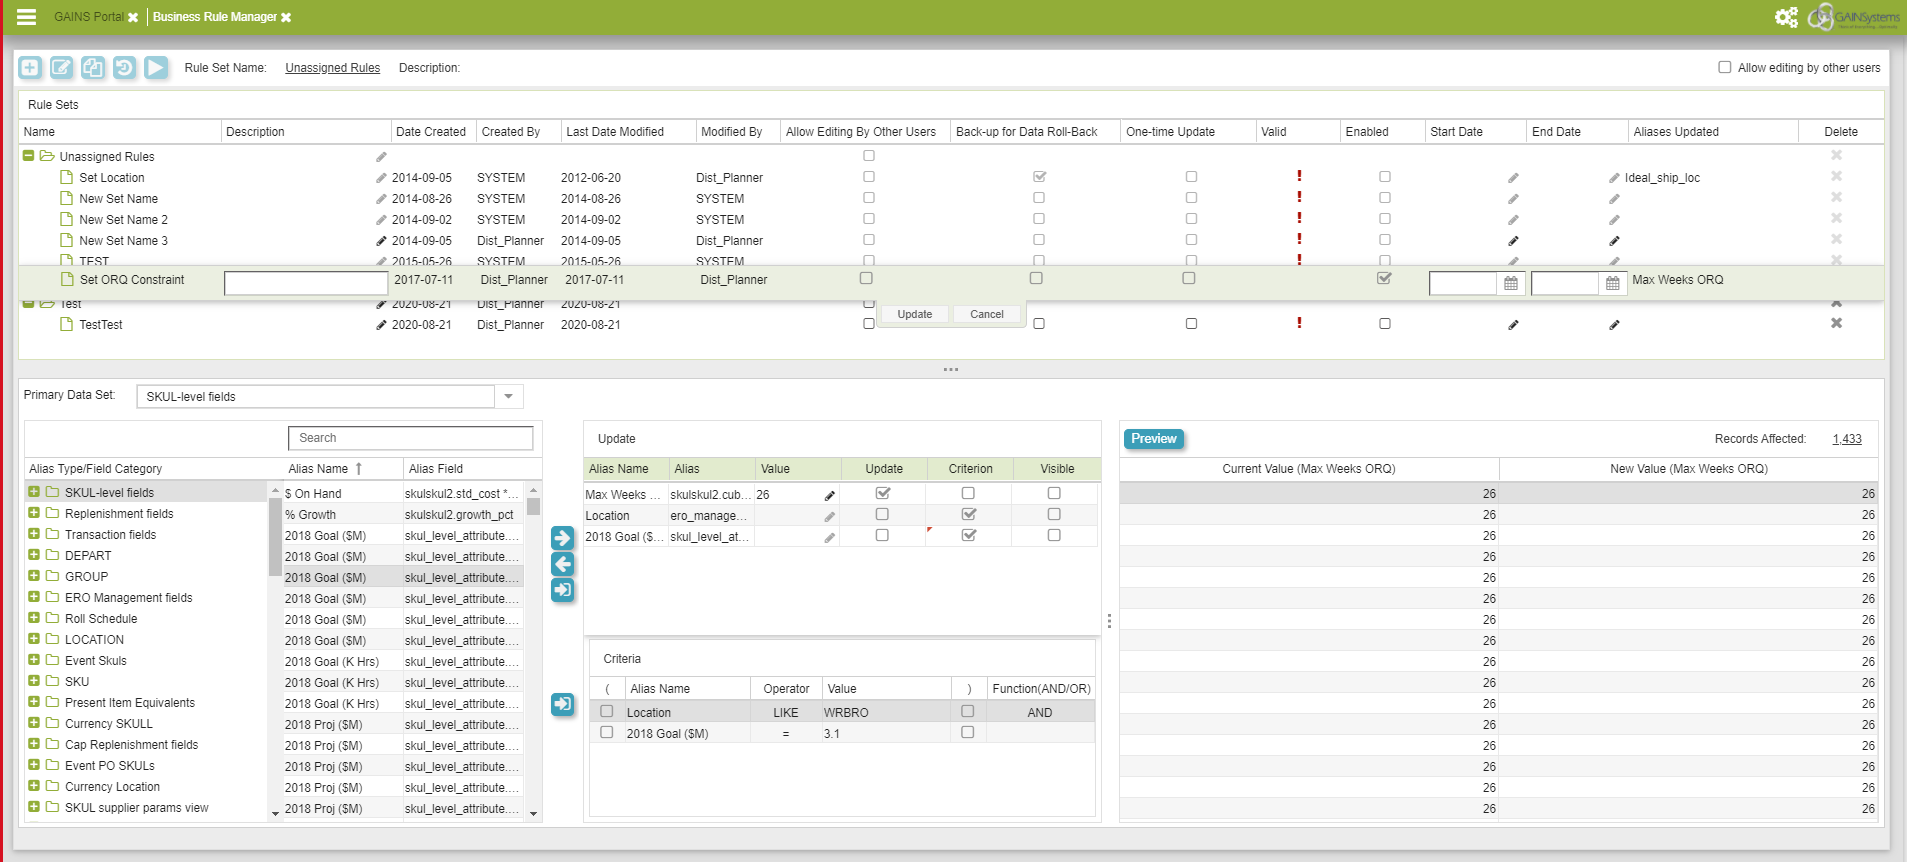
Business Rule Manager Main Screen
The Main Screen is used to execute, create, and copy rule sets. All fields have drop down arrows on the right of the columns for searching and filtering.

Business Rule Manager Main Screen
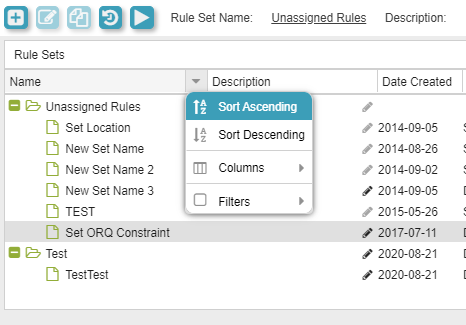
Search and Filter
Execute Rule Set
The Execute Rule Set can be accessed at the top left of the BRM screen. Rule sets are collections of individual business rules. Using the Execute rule set function sequentially runs each rule contained in the rule set.
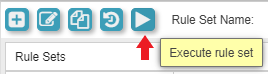
Execute Rule Set
Create Rule Set
The "Create Rule Set" button is the plus icon located on the top left of the screen. This function allows users to create new logical statements. A popup will display after clicking the button and will allow users to enter in the desired name, along with the desired description.
Create Rule Set
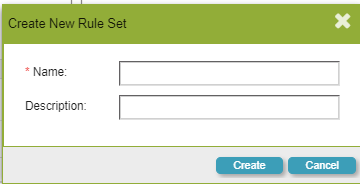
Create New Rule Set Screen
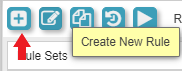
Create New Rule
To create a new rule, a rule set must first be created. Once a rule set is created, the "Create New Rule" button will be available which is located at the top left of the screen. This function allows users to create specific logical statement within the larger rule set. A popup will display after clicking the button which will allow users to enter in the desired name, along with the desired description.
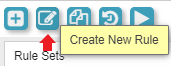
Create New Rule
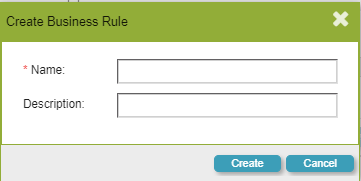
Create Business Rule Screen
Copy Rule
The "Copy Rule" button, which is located in the top left of the screen allows users to quickly copy rules previously made in other rule sets. A popup will display after the button is clicked and will allow users to select the desired rule to copy. Note: the copy function only copies at the rule level.
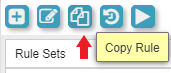
Copy Rule
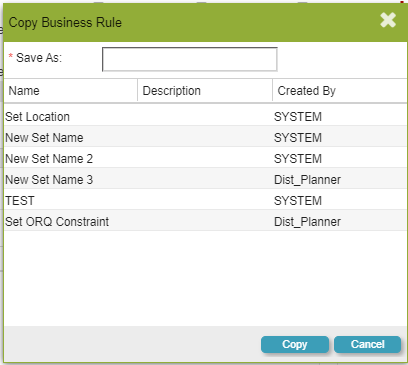
Copy Business Rule Screen
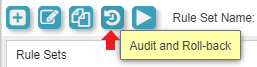
Audit and Roll-back
The Audit and Roll-back button is located in the top left of the screen and allows users to view any changes/updates they have made to the rules. This function also allows users to redact their changes and have the original values display instead. A popup will display showing the name of the rule that was affected along with the other pieces of data that were affected.
Audit and Roll-back
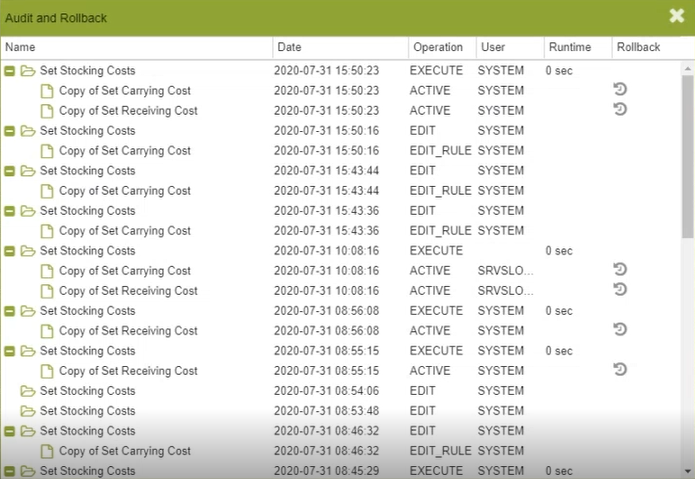
Audit and Roll-Back Screen
Allow Editing by Other Users
This "Allow editing by other users" checkbox is located in the top right of the screen. This function follows the users decision within the main screen to allow editing by other users.
Allow editing by other users
Modifying a Rule
This function can be accessed by double clicking any editable fields for the rules/rule sets. The green highlighted section is the section selected for modification. This allows users to make any modifications to the rules/rule sets that they desire. Clicking the "Update" button saves the rule/rule set.

Modifying a Rule
Description of Fields in Business Rule Manager
| Fields | Description |
| Name | Specifies the name of the rule set/rule being made. |
| Description | Describes the specific rule set/rule. |
| Date Created | Populates the date that the rule was created on. |
| Created By | Specifies which user was the one who created the rule. |
| Last Date Modified | Populates the last date that the rule was modified. |
| Modified By | Specifies which user was the last to modify it. |
| Allow Editing By Other Users | Enables whether or not other users may modify/edit the rule set/rule. |
| Back-up for Data Rollback | Enables archiving of the previous value for roll-back purposes. |
| One-time Update | Specifies that the rule will only be applied once. |
| Valid | A green check mark indicates that the rule is able to be executed. |
| Enabled | Specifies whether or not the rule set will be active. |
| Start Date | Specifies the starting date that the user desires the rule to be applied. |
| End Date | Specifies the ending date that the user desires the rule to stop applying. |
| Aliases Updated | Specifies which aliases are affected by the rule. |
| Delete | Allows the user to delete the rule. |
Primary Data Set Screen
The "Primary Data Set" screen is the screen that allows users to find and select various aliases to be used in rules. The user will start be selecting the data set for the alias that they are looking for. They will then proceed to locating the Alias Type/Field Category of the alias they are looking for. They will then select the desired Alias Name that they want and either double click or highlight the desired alias and then click on the arrows on the right to move the alias around. The alias is then ready to be modified into a rule.
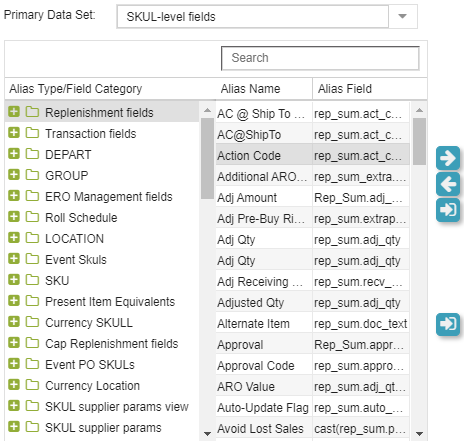
Primary Data Set Screen
Update Screen
This screen enables users to makes rules based on the alias they have selected. Check marking the "Update" column enables users to make direct changes to the "Value" column. The "Criterion" column enables users to create logical statements based on the selected alias. The "Visible" column enables the parent alias to be shown in the "Preview" section.
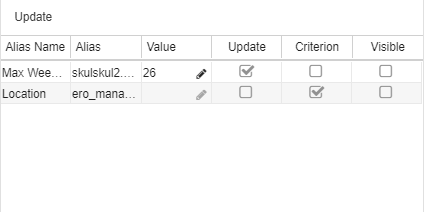
Update Screen
Criteria Screen
The "Criteria" Screen can be used once the "Criterion" column is check marked in the "Update" screen. This is the section where logical statements can be made for the specific alias.
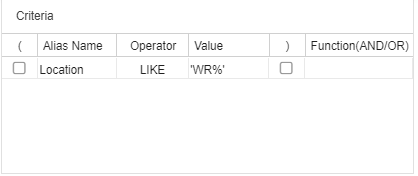
Criteria Screen
Preview Screen
The "Preview Screen" is a display that allows users to see the effects of the rules that they make. Users will click on the "Preview" button to run the desired rules and the changes will display. Users may also select the drop down arrow on the right side of each field to sort and aggregate.
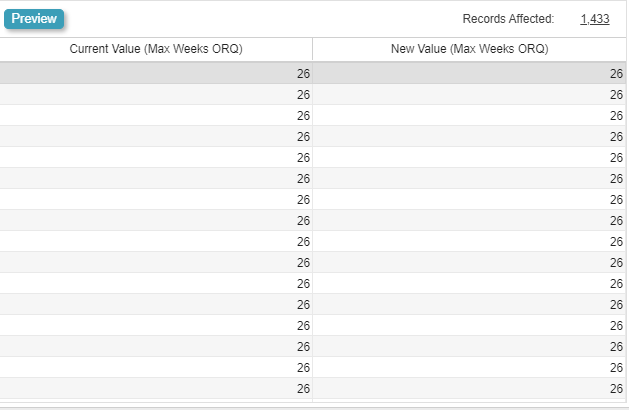
Preview Screen
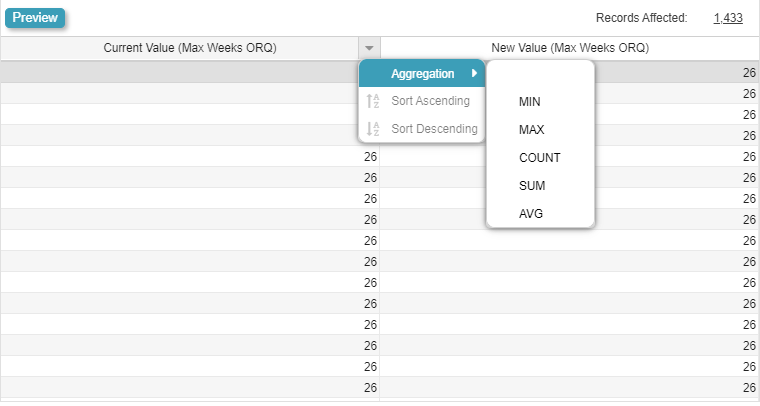
Sort and Aggregate
Batch Script BRM
By default, when rule sets are run, all the rules within the rule set are run in parallel, not in the order that they appear in. In order to run rules sequentially, users must run the following commands in a batch script in order to manually run individual rules and rule sets. Users must be strategic in the way that they decide to run the rules.
Executing Individual Rules
Within the Auto Update Service program, the following command should be run to execute the rule:
AutoUpdateService.bat "Copy of Set Carrying Cost"
"Copy of Set Carrying Cost" should be replaced with the name of the rule.
Executing Rule Sets
To execute a rule set, the additional parameter /rs must be called in the batch script. An example of the command to execute a rule set is listed below:
AutoUpdateService.bat /rs "Set Stocking Costs"
"Set Stocking Costs" should be replaced with the name of the rule.